Integrate CDM Library to an AIMMS Application
AIMMS Collaborative Data Management (CDM) provides the capability to turn any AIMMS project into a multi-user scenario planning application. It does so by backing the AIMMS app by a versioned application database managed by the AIMMS CDM component, which is able to capture any collection of data changes made by a user throughout the app into a single tractable transaction.
Running it Locally using SQLite
This section describes how to configure the CDM library for local development using an SQLite database.
Prerequisites
AIMMS Project: You need a working AIMMS project. The
Gantt Chart applicationcan be used as a starting point.CDM Config Files: Download the
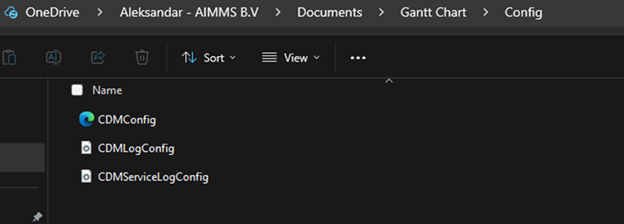
CDM Config filesand place them in a folder namedConfigwithin your project’s directory.SQLite Browser: Download and install SQLite Browser version 3.12.2. It is crucial to use this specific version for compatibility.
Integration Steps
Add the CDM Library
Open your AIMMS project.
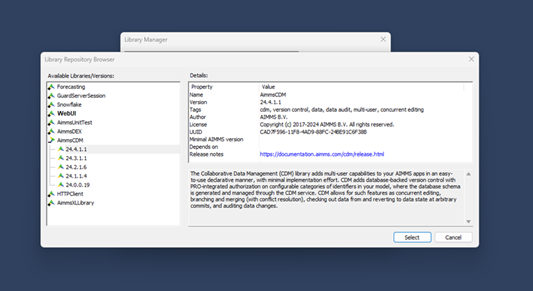
Go to .
Select .
Choose the latest version of
AimmsCDM.
Once you add the library, save your project.
Annotate Data
The next step is to choose which data you would like to synchronize. Once you have managed to select the data you need to add annotation to which CDM category that data will belong. There are two level options, you can do it on a section level or parameter level.
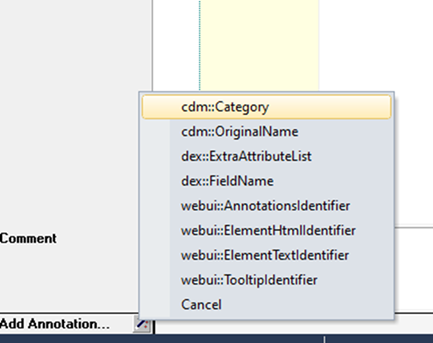
In this field you are free to write any category that you deem fit. If you add the CDM category on a section level, all the sets and parameters within that section will inherit that annotation (you do have the option to override the inherited value).
Create Initialization Script
Create a new procedure and add the following code block.
cdm::ApplicationDatabase := "<Name of the MySQL Schema>";
cdm::DataSchemaVersion := "1";

if (ProjectDeveloperMode) then
    cdm::UseEmbeddedServer := 1;
else
    pro::Initialize();
    cdm::CloudServiceName := "<You can name the service as you wish>";
    cdm::DatabaseHost := "<Connection to the MySQL server>";
    cdm::DatabaseUser := "<User that has full permissions to the Schema>";
    cdm::DatabasePassword := "<Password>";
    cdm::CallTimeout := 300000;
    cdm::ServiceLogLevel := 'TRACE';
endif;

cdm::ConnectToApplicationDB;
cdm::ListenToDataChanges := 1;
cdm::AutoCommitCategory(cdm::cat) := 1;
cdm::AutoPullCategory(cdm::cat) := 1;
cdm::StartListeningToDataChanges;
Important
This script handles the connection logic for both local (SQLite) and cloud (MySQL) environments.
Once done, you need to add this procedure to your start up procedure in your project.
Save the project.
This is everything that you initially need to do to add CDM to your project.
If you close and re-open the project you will see in your Data folder that a local CDM database with extension aimmsdb is created.

Using the SQLite Browser you can open this file and see the structure. There will be some default tables along with the tables created for your sets and parameters that you previously added the CDM category annotation.
Running it on AIMMS Cloud using MySQL
When you are ready to publish your application to AIMMS PRO, the initialization script will automatically switch from using the local SQLite database to the cloud-based MySQL database.
The
elseblock of the initialization script handles the connection to the MySQL database on your AIMMS Cloud account.No changes are needed to the script; simply create your
.aimmspackfile and upload it to AIMMS Cloud.
To access and view your live data in the MySQL database, refer to the official: Connecting to and using the AIMMS Cloud Database.