Reindeer Pairing
Story
This AIMMS project is an illustration of the stable marriage problem (STEM). Every Christmas Santa is as always busy with preparations before his longer-than-7.5-million-kilometer trip around the world. One of the many things he has to worry about is how to pair up his reindeer in front of the sleigh. We all know that Rudolf goes right in front of everyone else because of his shiny nose, but what about his other eight four-legged friends? The traditional Christmas carols tell us that the reindeer are typically arranged in four pairs, front to back, as follows:
Dasher, Dancer
Prancer, Vixen
Comet, Cupid
Donner, Blitzen
Therefore, we are going to assume that this is an arrangement that works pretty well (after all it’s been working since 1823). However Santa kept thinking: “Are there other good ways to pair up my reindeers?”. Santa was kind enough to provide the following lists of pairing preferences for each of his reindeer. The names in each list are sorted in decreasing order of pairing preference. The lefties appear in bold, while the righties appear in italic.
Dasher: Dancer, Cupid, Vixen, Blitzen
Prancer: Vixen, Blitzen, Dancer, Cupid
Comet: Cupid, Dancer, Blitzen, Vixen
Donner: Blitzen, Vixen, Dancer, Cupid
Dancer: Prancer, Comet, Dasher, Donner
Vixen: Dasher, Donner, Prancer, Comet
Cupid: Prancer, Dasher, Comet, Donner
Blitzen: Comet, Prancer, Donner, Dasher
What Santa would like to know is whether or not there are other good pairings in addition to the traditional one. If so, he can add some variety to his line-up and the reindeer won’t get so bored by galloping side-by-side with the same companion every year.
Note
The problem formulation is originally stated elegantly at Tallys Yunes’ blog. And more information about the reindeers personalities here!
Mathematical Model
This AIMMS project illustrates the use of a Contraint Programing (CP) model.
Reindeer Pairing Problem |
||
|---|---|---|
Sets and indices: |
||
\(R\), \(r \in R\) |
Rightys Reindeers |
|
\(L\), \(l \in L\) |
Leftys Reindeers |
|
\(D\), \(d \in D\) |
Reindeers |
|
Parameters: |
||
\(Pl_{l,r} \in \mathbb{I}\) |
Leftys preferences |
|
\(Pr_{r, l} \in \mathbb{I}\) |
Rightys preferences |
|
Variables: |
||
\(rP_{l} \in R\) |
Right partner |
|
\(lP_{r} \in L\) |
Left partner |
|
Contraints:
Match Each Uniquely:
1cp::Channel(
2   mapBinding        :  i_left,
3   map               :  ev_rightPartner(i_left),
4   inverseMapBinding :  i_right,
5   inverseMap        :  ev_leftPartner(i_right))
Left Stable (i_left,i_right):
1if p_def_preferenceRankLefty( i_left, i_right ) < p_def_preferenceRankLefty( i_left, ev_rightPartner( i_left ) ) then
2   p_def_preferenceRankRighty( i_right, ev_leftPartner( i_right ) ) < p_def_preferenceRankRighty( i_right, i_left )
3endif;
Right Stable (i_left,i_right):
1if p_def_preferenceRankRighty( i_right, i_left ) < p_def_preferenceRankRighty( i_right, ev_leftPartner( i_right ) ) then
2   p_def_preferenceRankLefty( i_left, ev_rightPartner( i_left ) ) < p_def_preferenceRankLefty( i_left, i_right )
3endif;
Remarks:
i_left as l;
i_right as r;
p_def_preferenceRankRighty as Pr;
p_def_preferenceRankLefty as Pl;
ev_rightPartner as rP;
ev_leftPartner as lP;
Language
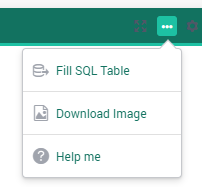
DirectSQL
This example illustrates how to use DirectSQL to export data.
Read more about how to generage a DirectSQL procedure. Access this feature per “All Solutions” table.
Multiple Solutions
To ensure the solver will return multiple solutions, the option solution_storage_limit was set to 1000.
 1option 'cpoptimizer 22.1'.'solution_storage_limit' := 1000 ;
 2solve mp_stableReindeerPairings where solution_limit := 1000, time_limit := 10 ;
 3
 4! Visit each solution in the solution repository of that generated mathematical program
 5! and store these solutions in element parameters.
 6! These element parameters can then be displayed in the GUI.
 7ep_loc_generatedModel := 'mp_stableReindeerPairings';
 8s_solutionSet := gmp::Solution::GetSolutionsSet(ep_loc_generatedModel);
 9
10for (i_sols) do
11   GMP::Solution::SendToModel(ep_loc_generatedModel, i_sols);
12   ep_variousLeftPartners(i_sols,i_right)  := ev_leftPartner(i_right);
13   ep_variousRightPartners(i_sols,i_left) := ev_rightPartner(i_left);
14endfor;
WebUI Features
The following WebUI features are used:
Page Layout
Even though Page Layout can be a little more restrictive, it is possible to create complex structures such as:
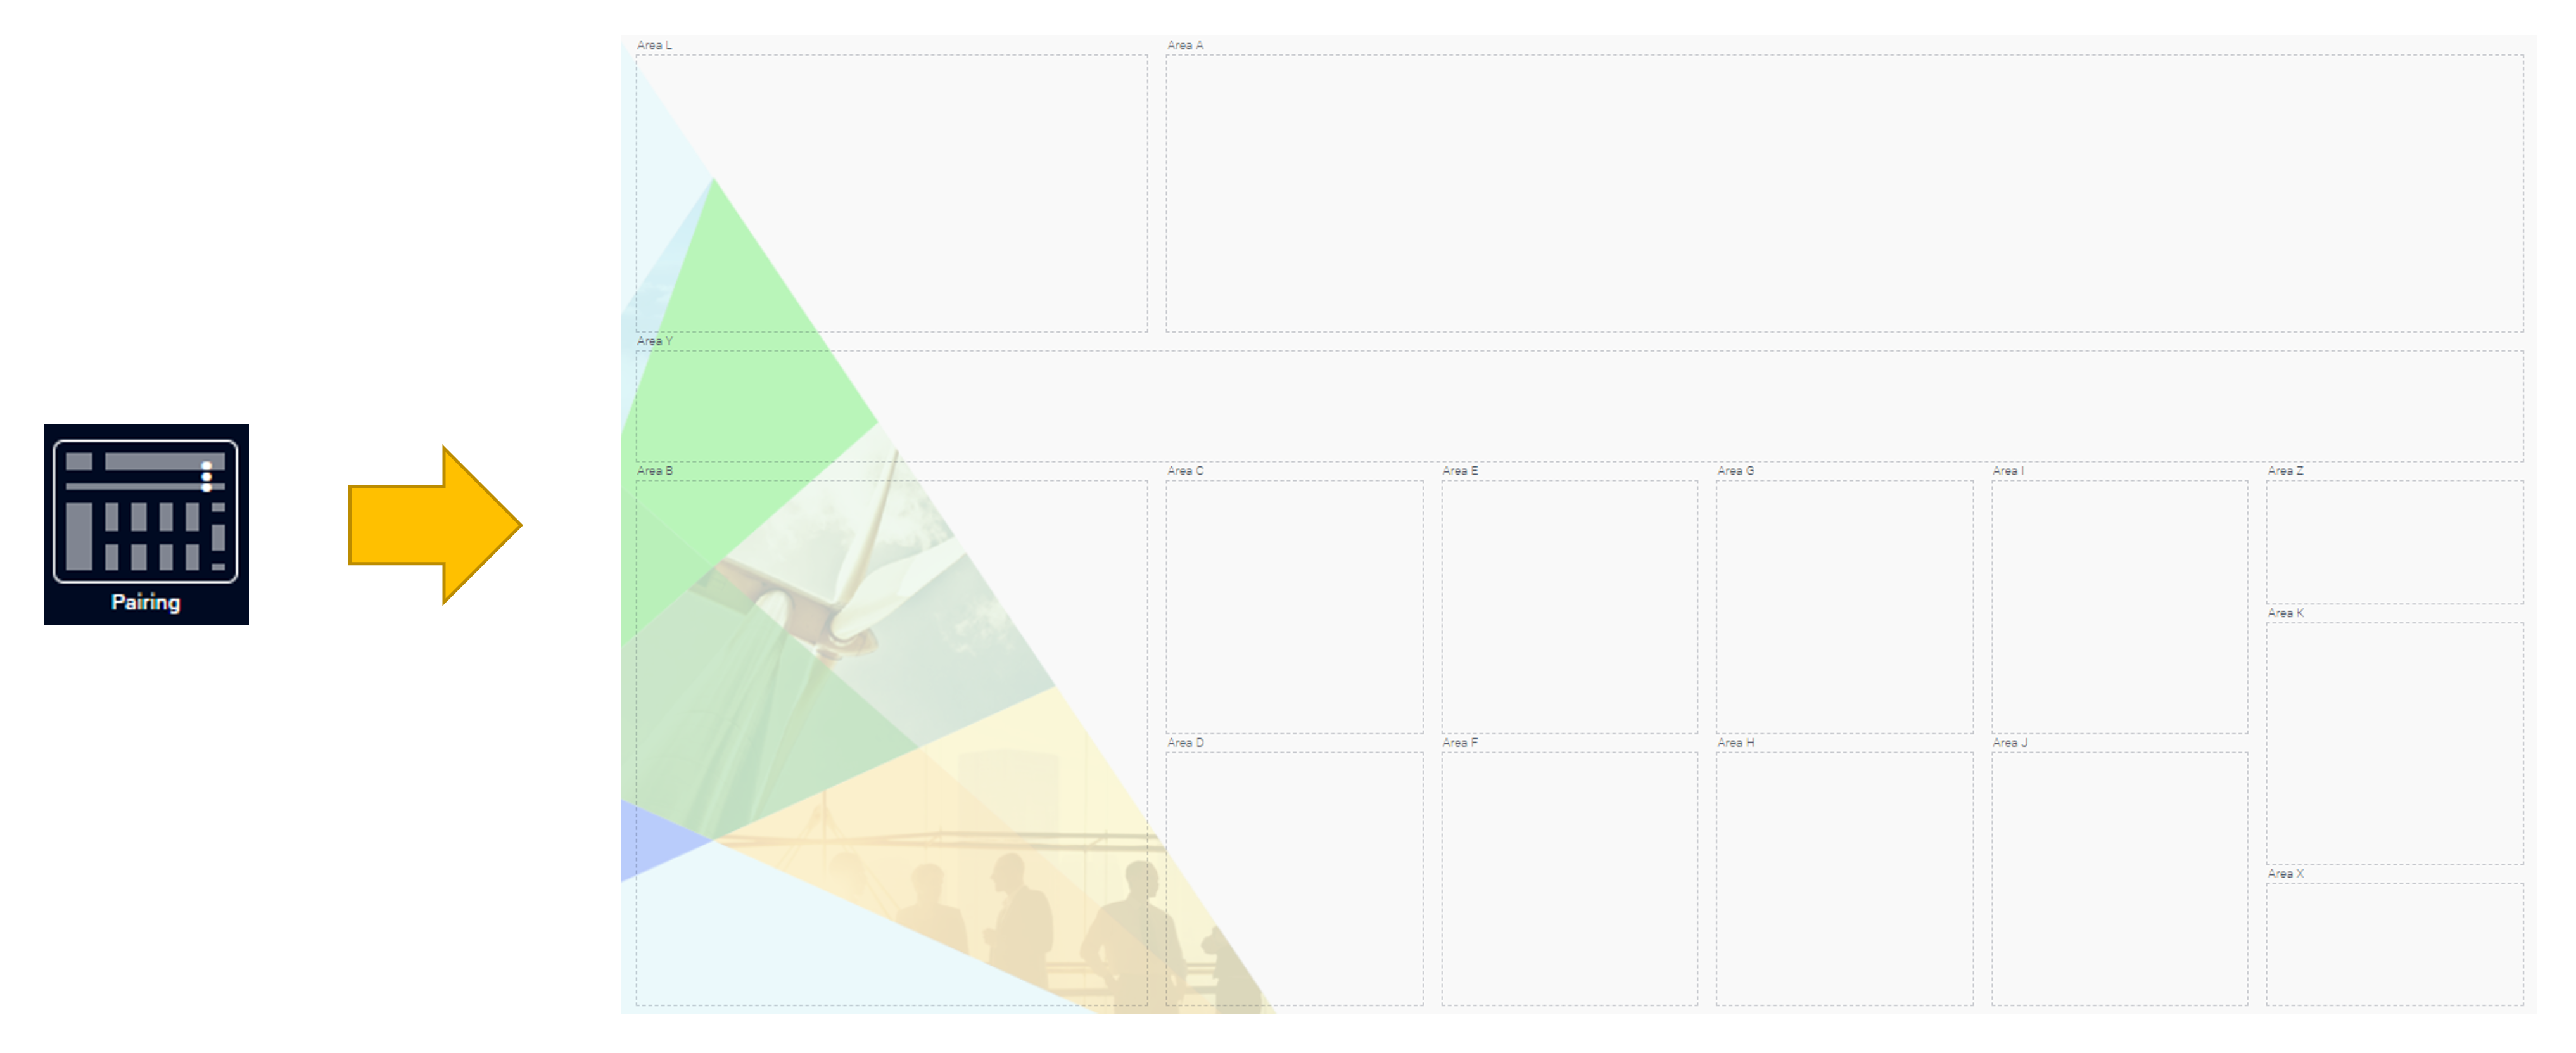
To develop this layout, first was done a draft plan, translated to this image:
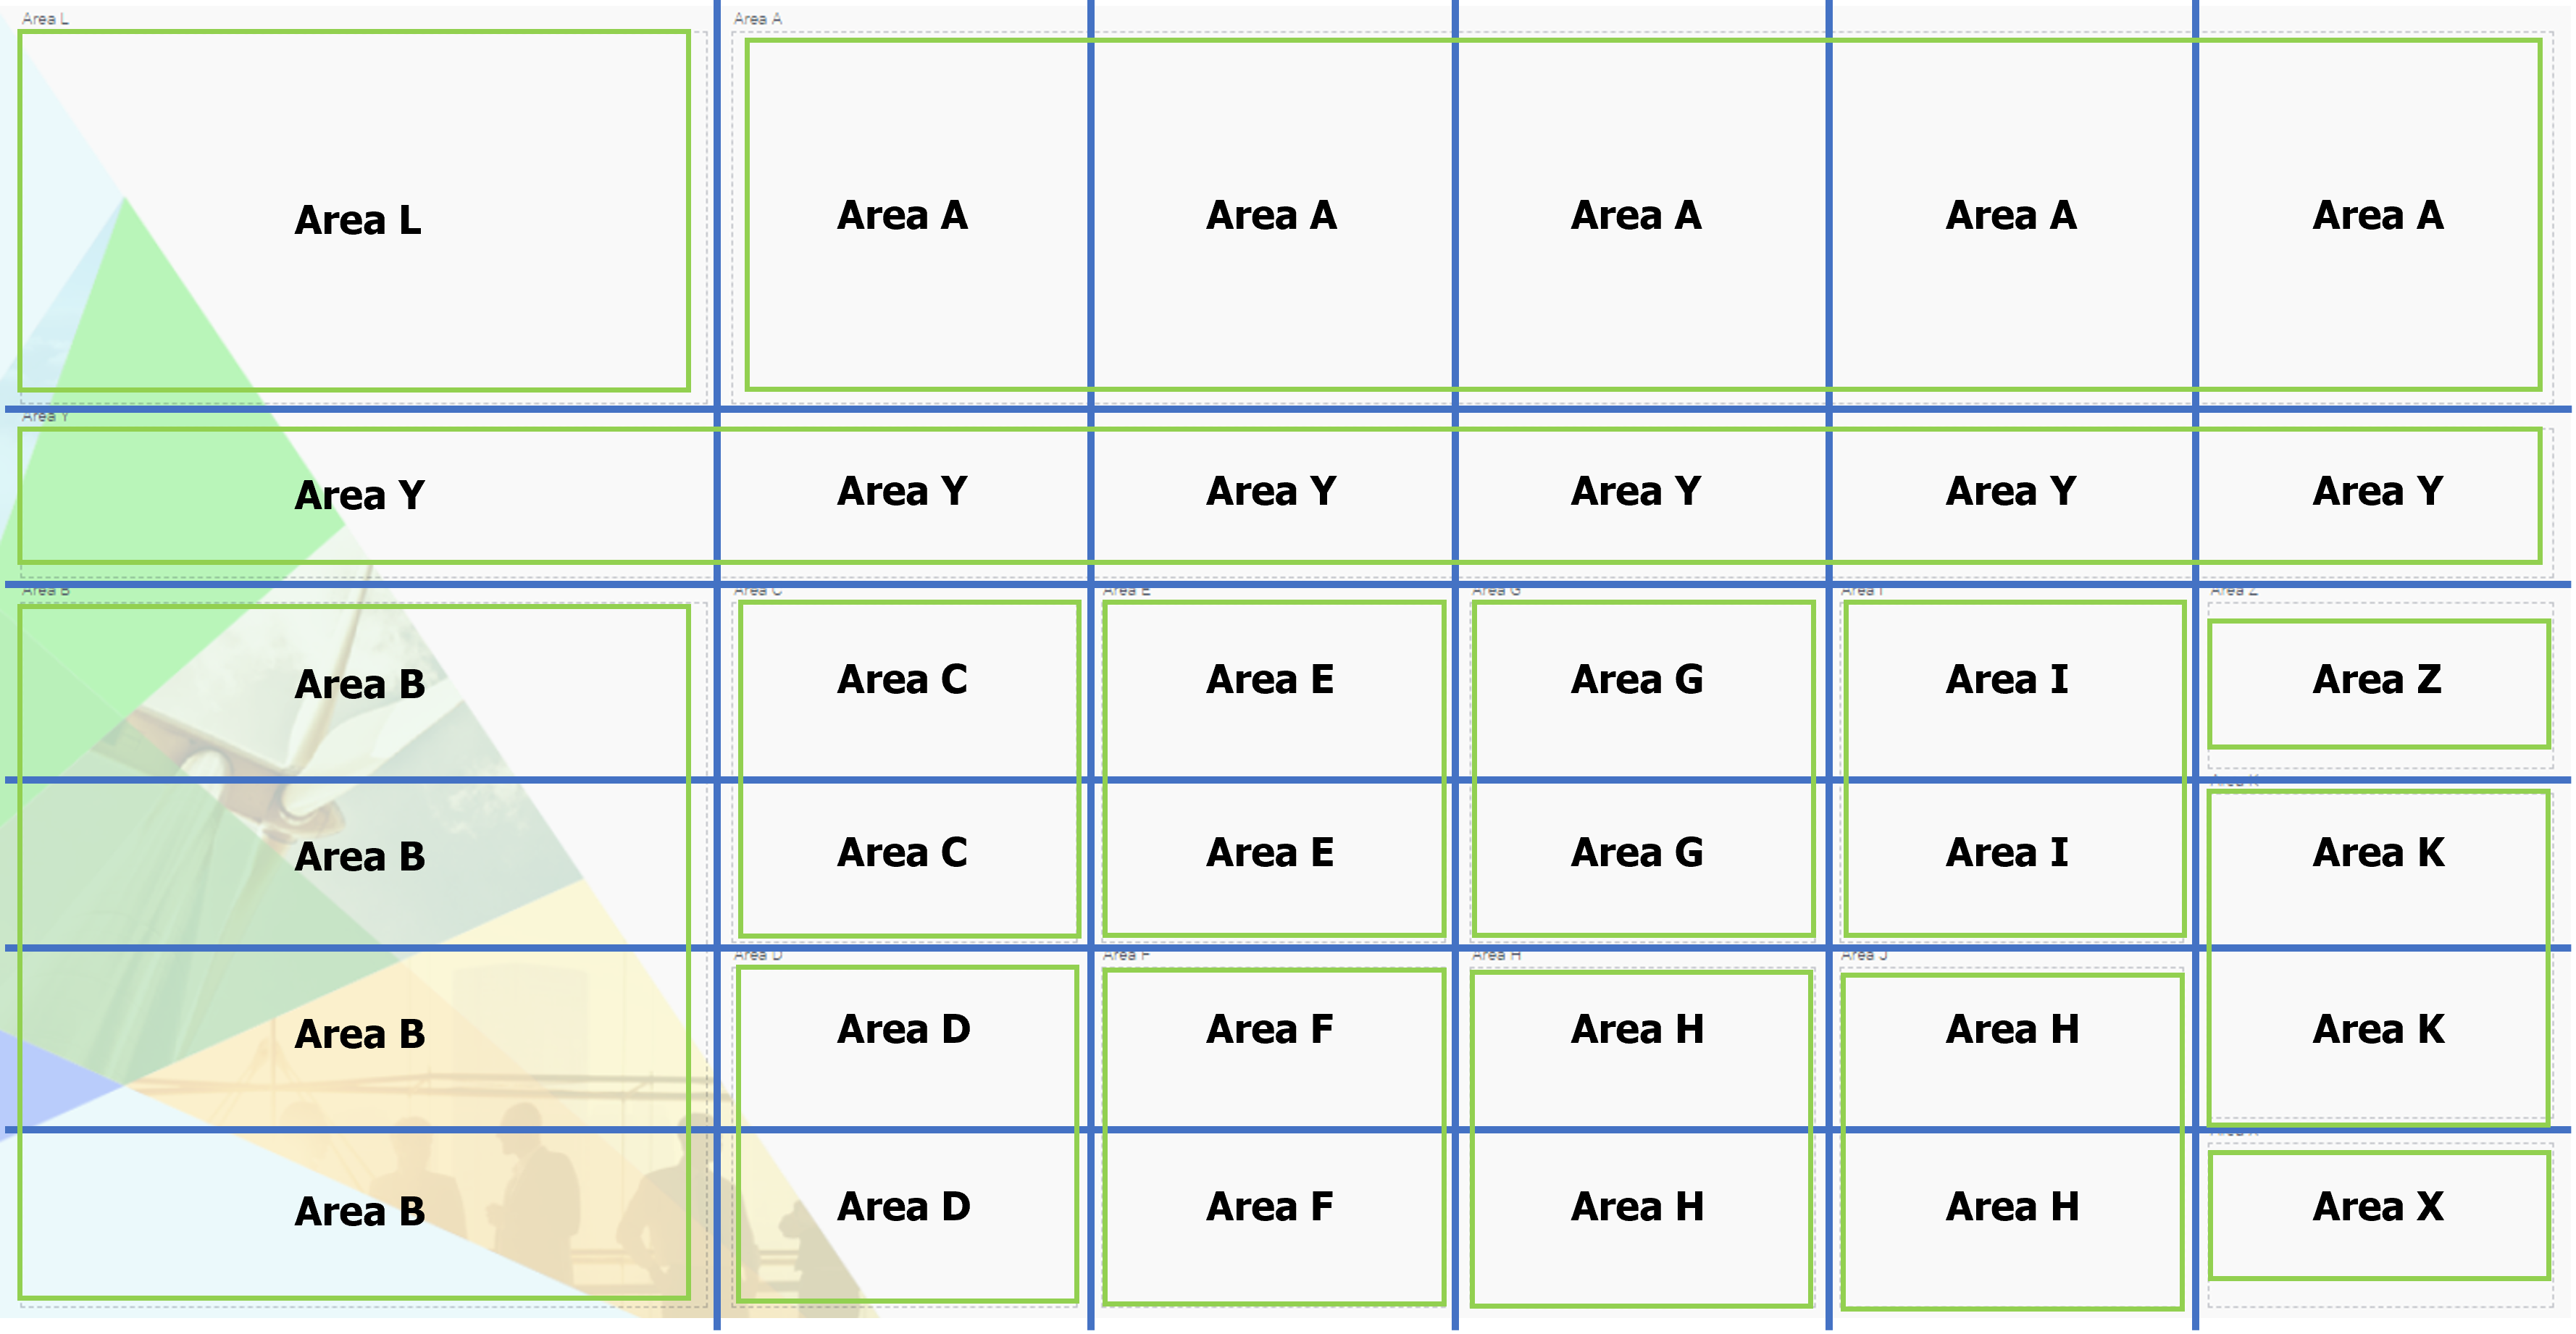
Then when coding the layout, it was easier to define its structure by code,
1"gridTemplateColumns": "2fr 1fr 1fr 1fr 1fr 1fr",
2"gridTemplateRows": "5fr 2fr 2.2fr 2fr 2fr 2.2fr",
3"gridTemplateAreas": "\"area-l area-a area-a area-a area-a area-a\" \"area-y area-y area-y area-y area-y area-y\" \"area-b area-c area-e area-g area-i area-z\" \"area-b area-c area-e area-g area-i area-k\" \"area-b area-d area-f area-h area-j area-k\" \"area-b area-d area-f area-h area-j area-x\""
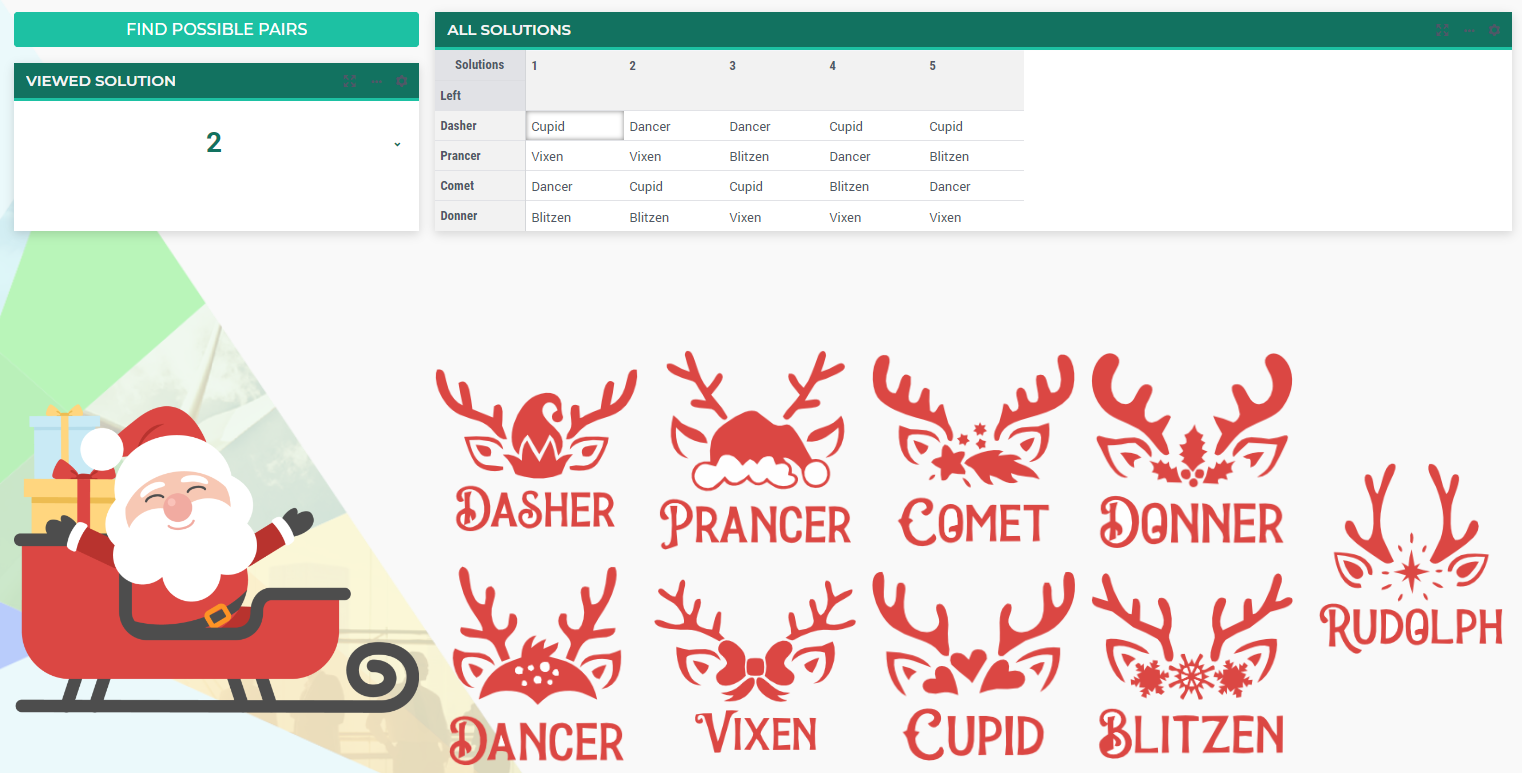
Resulting to our beautiful Reindeer Pairing page!
UI Styling
Below there are the css files you will find with comments on what they change.
 1:root {
 2   --primaryLight: #FDFCEF;
 3   --primary: #C7EDE6;
 4   --primaryDark: #1DC1A3;
 5   --primaryDarker: #127260;
 6   --secondary: #EE3E54;
 7   --secondary2: #e9818d;
 8
 9
10   --bg_app-logo: 20px 50% / 30px 30px no-repeat url(/app-resources/resources/images/reindeer.png);
11   --spacing_app-logo_width: 50px;
12   --color_border_app-header-divider: var(--primaryDark); /*line color after header*/
13   --color_bg_app-canvas: url(/app-resources/resources/images/RightBackground.png) rgb(249, 249, 249) no-repeat left/contain; /*background color*/
14
15   --color_border-divider_themed: var(--primaryDark);
16   --color_bg_widget-header: var(--primaryDarker);
17   --border_widget-header: 3px solid var(--primaryDark);
18
19   --color_text_widget-header: white;
20   --color_text_edit-select-link: var(--primaryDarker);
21   --color_text_edit-select-link_hover: var(--primary);
22   --color_bg_edit-select-link_inverted: var(--secondary);
23   --color_text_button_primary: white;
24   --color_text_button_primary_hover: var(--primaryDarker);
25   --color_text_button_secondary: var(--secondary);
26   --color_text_button_secondary_hover: var(--primaryDarker);
27
28   --color_bg_button_primary: var(--primaryDark);
29   --color_bg_button_primary_hover: var(--primary);
30
31   --border_button_primary: 1px solid var(--primaryDark);
32   --border_button_primary_hover: 1px solid var(--primaryDarker);
33
34   --border_button_secondary: 1px solid var(--secondary);
35   --border_button_secondary_hover: 1px solid var(--primaryDarker);
36
37   --color_bg_workflow_current: var(--primaryDarker); /*bg color when step is selected*/
38   --color_workflow_active: var(--primaryDarker); /*font and icon color when step is active*/
39   --color_workflow-icon-border: var(--primaryDarker);
40}
Minimal Requirements
AIMMS Community license is sufficient and ODBC instalation is necessary for working with this example.