Centering Cells in Table Widget
This article illustrates how to center cells in Table Widget using css. Please use the Employee Scheduling example to experiment with this feature.
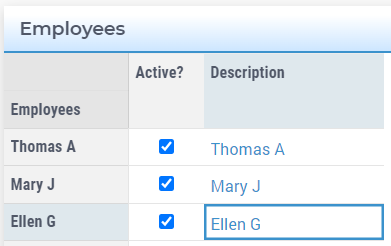
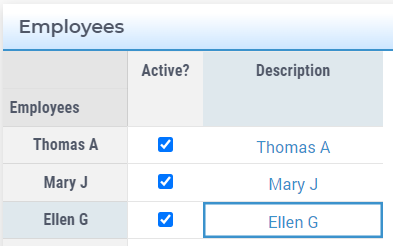
Centering String Parameters
To center string parameter cells using css, i.e. from Fig. 64 to Fig. 65:
You need the following css code snippet.
1/*Centering cells*/
2.tag-table .cell.flag-string input{
3    text-align: center;
4}
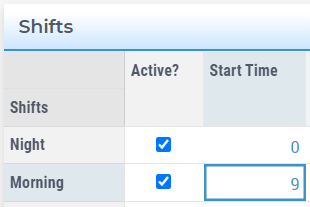
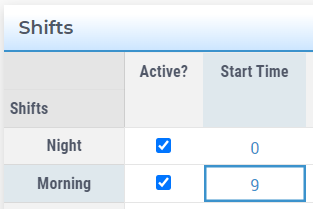
Centering Parameters
To center parameter cells using css, i.e. from Fig. 66 to Fig. 67:
You need the following css code snippet.
1/*Centering cells*/
2.tag-table .cell.flag-number input{
3    text-align: center;
4}
Centering Element Parameters
To center element parameter cells in the Table Widget using css, you need the following css code snippet.
1/*Centering cells*/
2.tag-table .cell.flag-string .cell-wrapper{
3    text-align: center;
4}
Combining Everything
To combine all css classes mentioned above and center all type of cells, you need the following css code snippet.
1/*Centering cells*/
2.tag-table .cell.flag-string .cell-wrapper,
3.tag-table .cell.flag-number input,
4.tag-table .cell.flag-string input{
5    text-align: center;
6}
On Employee Scheduling example you will find this css file under ./MainProject/WebUI/resources/stylesheets named as custom.css.