Link an SQLite Database to a Project
Say you have a wonderful AIMMS application that needs to link a Database Table identifier  (an AIMMS identifier) to your amazing SQL database that is, however, an SQLite database. To be able to read it, AIMMS needs the appropriate driver. This article presents how to:
Install the SQLite driver
Connect your SQLite database
Verify that you can access it through AIMMS
Install the SQLite Driver
SQLite Driver
To install SQLite ODBC driver, please refer to the following website, and download sqliteodbc.exe or sqliteodbc_w64.exe, depending on your AIMMS’ configuration (and NOT your computer’s configuration):
Then just run the .exe and follow the instructions.
Note
This driver is open source under a BSD-type license. You may read the license terms for details.
Verify the Installation
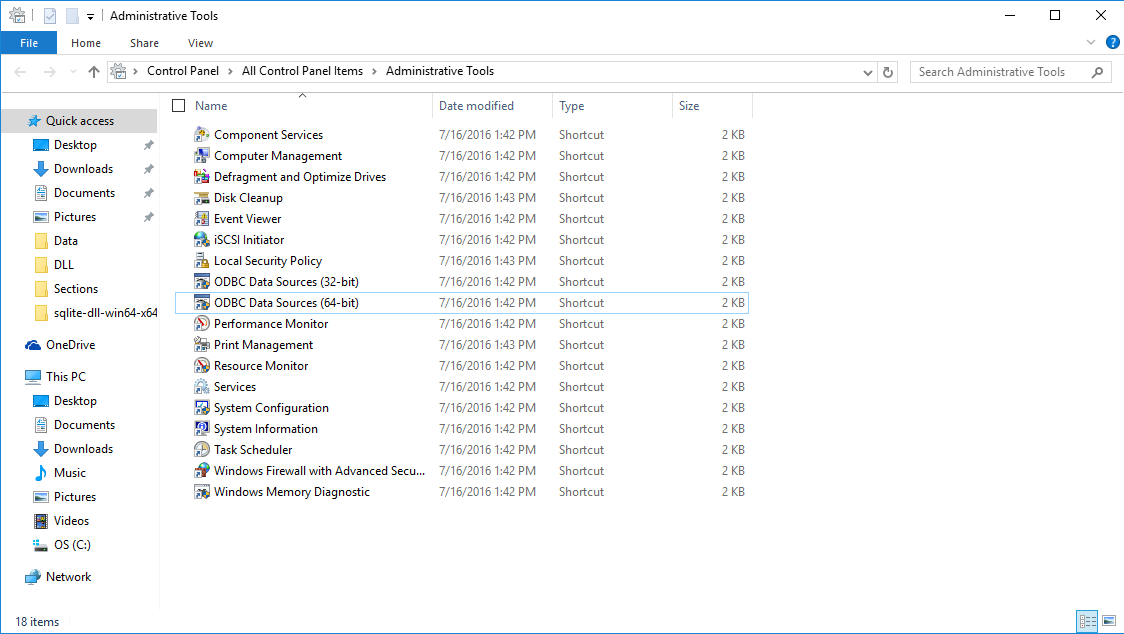
To verify that the driver is properly installed, please open the “Administrative Tools” of your computer (type “administrative tools” in Windows search bar). You should see a window like this :
Then open the “ODBC Data Sources (64-bit)” (or 32-bit) and reach the tab. Normally, you should find 3 new drivers, named SQLite ODBC (UTF-8), SQLite ODBC and SQLite3 ODBC. The window may include other drivers (as Microsoft Access for example) :
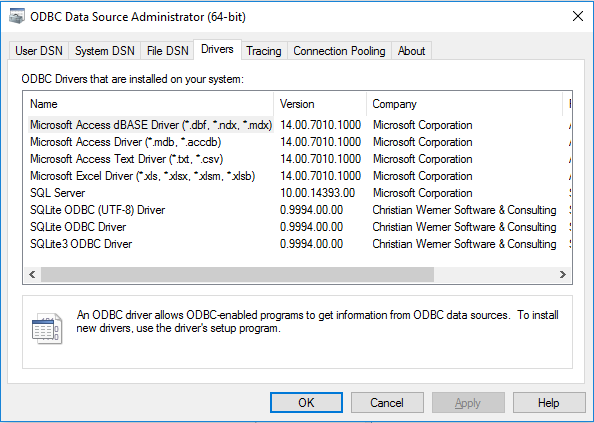
Congrats! The installation is successful.
Download an SQLite Database Sample to Test
In order to test our installation, you could use your own generated SQLite database, or download a sample here.
The downloaded database is named chinook.db, and we will use it in the rest of this tutorial.
Connect your SQLite Database to an AIMMS Identifier
Generate the Connection File
To read one database, AIMMS needs to know the name of the driver it should use and the location of your SQLite database. There are 3 different ways to give those indications to an AIMMS database identifier:
By generating a .dsn file, that you will store somewhere on your computer (almost equivalent to a text file .txt) and link it to your AIMMS identifier
By generating a system
.dsnfile, that your computer will store for you in a specific placeBy creating a connection string, that will have the same role as a
.dsnfile, but directly written into the AIMMS application. This appears to be particularly useful when, for instance, a password is needed to read a certain database, and you don’t want to rewrite it each time you open your application or the database.
Generate a .dsn File Connected to your SQLite Database
Every database has its own .dsn file, so you need to generate one for each of your databases. In addition to that, every ODBC driver has a different .dsn file structure.
To generate the appropriate .dsn file from your SQLite ODBC driver, please select the tab
from the ODBC Data Sources administrator (the one that we opened just before to check that the installation was completed).
Then click the button in the upper right of the window. You should see this pop-up window:
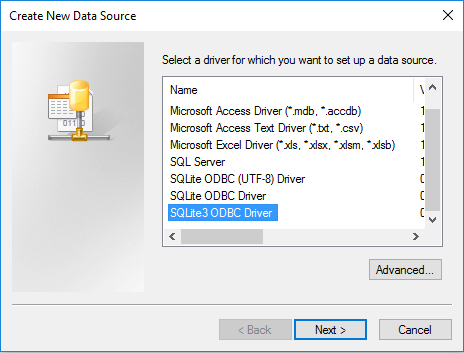
Select the driver you want to use (in our case, SQLite3 ODBC Driver) and click .
At this point, the computer is asking you the name of the .dsn file you want to create. Here, it is named test.
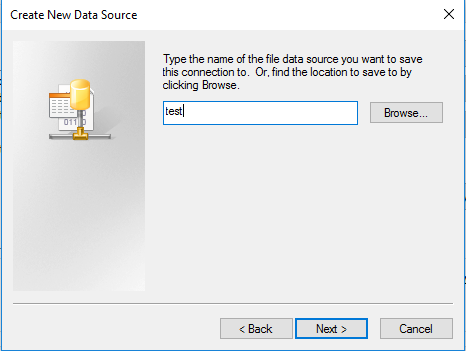
After that, you will have access to the ‘SQLite ODBC Driver Connect’, which finally asks you to browse and select your SQLite database.
In this example, the database is named chinook.db.
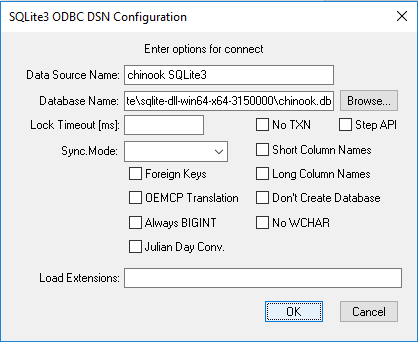
After clicking , you should see a new .dsn file (named test here) in the file explorer of your ODBC Data Source Administrator.
Then you may go directly to the section fill-out-db-table-id in order to complete the connection with your AIMMS database.
Generate a .dsn System File Connected to your SQLite Database
To generate the appropriate .dsn system file from your SQLite ODBC driver, please reach the tab from the ODBC Data Sources administrator (the one that we’ve opened just before to check that the installation was completed).
click in the upper right of the window.
select SQLite3 ODBC Driver as shown below.
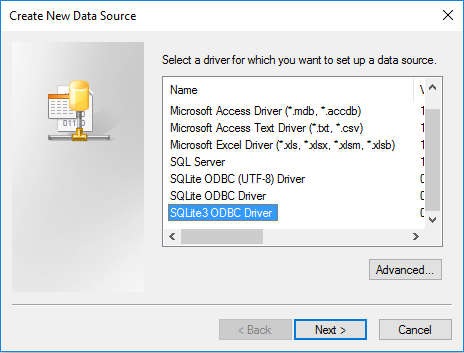
When the SQLite3 configuration window pops up:
define the System DSN file name (here, chinook SQLite3),
define the location of your SQLite database (db in this case):
click

You should now see that there is a new System DSN file in the tab:
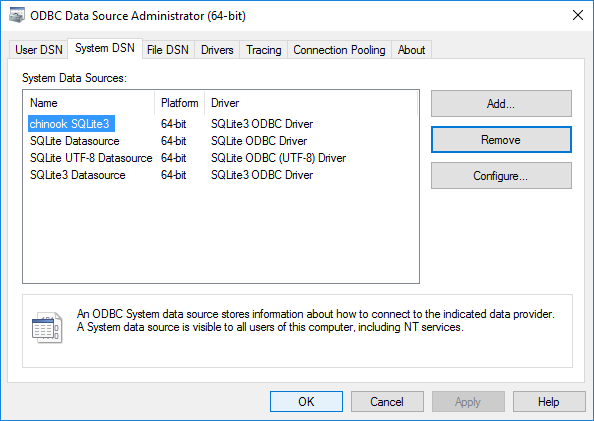
Congrats! You may go directly to the Fill out an AIMMS Database Table identifier in order to complete the connection with your AIMMS database.
Create a Connection String
A connection string is an AIMMS string parameter  that you could fill out thanks to a procedure. This procedure should use the
 SQLCreateConnectionString() function. Let’s build that connection string as follows:
Create an AIMMS string parameter
 named
named ConnectionString.Check, Commit and Close.
Create a new procedure
 named
named WriteTheConnectionString(the name is not important)Double click on procedure’s name and write the following code in its body field:
ConnectionString := SQLCreateConnectionString (
    DatabaseInterface              :  'odbc',
    DriverName                     :  "SQLite3 ODBC Driver",
    DatabaseName                   :  "C:\\Users\\Arthur.AIMMS\\Documents\\SQLite\\sqlite-dll-win64-x64-3150000\\chinook.db", !The path of your database
    AdditionalConnectionParameters :  "") ;
As you may see, this function fills out your string parameter with a “coded” string that will be read by your AIMMS datasource table identifier. This function allows you to define a user name and a password as well, by default empty, to access your SQLite database.
For more details on SQLCreateConnectionString() function syntax, right-click on SQLCreateConnectionString()
in the body field and select the item.
Finally, you should run the procedure WriteTheConnectionString, in order to fill out your string parameter  .
.
Fill out an AIMMS Database Table identifier
Let’s start a super simple new AIMMS project, containing only one Database Table named Table1 :
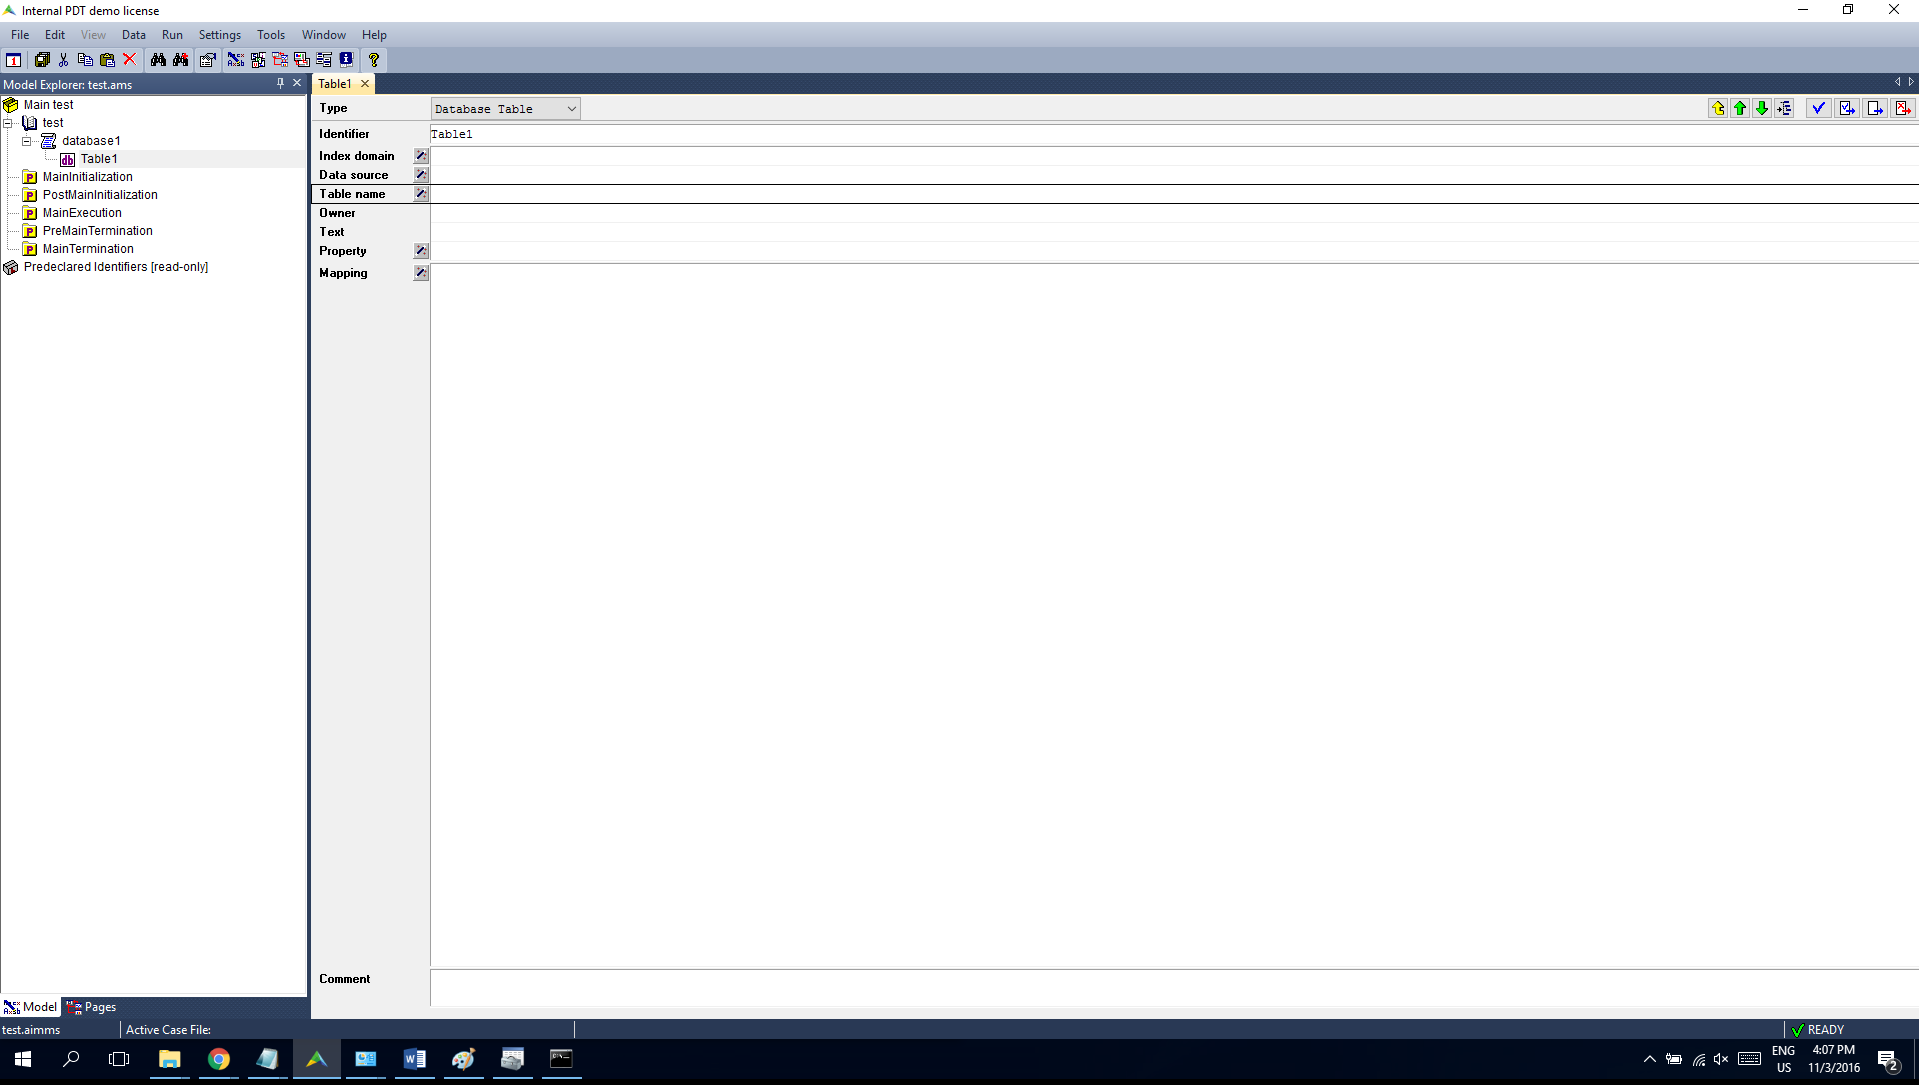
Create a new Database Table,
Specify
Table1,Activate the wizard,
Link Type |
Action |
|---|---|
Link with a |
|
Link with a system |
|
Link with a connection string |
|
Verify the Database Link
Once you have linked the data source, you are now ready and able to select a table from this source. Execute the following steps:
Activate the wizard,
Choose the command from the pop-up menu,
You should see table names from your database, if not, please see the instructions bellow.
Warning
If you receive the following error message when trying to link with a connection string:
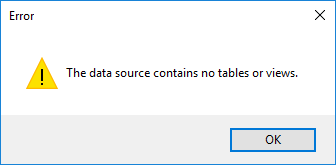
your connection string might be empty. Please check if ConnectionString parameter is empty by accessing its data (right click on its icon and choose ). It should be filled out with the following string:
DRIVER={SQLite3 ODBC Driver};DATABASE=C:\Users\Arthur.AIMMS\Documents\SQLite\sqlite-dll-win64-x64-3150000\chinook.db;
Example Download
You will need the SQLite ODBC driver to be installed to run this example, as described in Install the SQLite driver:
Note
Please tell us if you think this example could be improved !
Conclusion
In this article we installed the SQLite driver, and linked our SQLite database to an AIMMS database table identifier  that we now may further use in our AIMMS application. We presented 3 different ways to link the database, namely the
 .dsn file, the system .dsn file and the connection string.
We finally concluded by verifying that we were able to read our SQLite database through our AIMMS database table identifier.