Using Scalar Border Annotation
This article illustrates how to use the border annotation on a scalar widget while using an AIMMS WebUI application. This can be done to any scalar format: compact, multiline or simple/basic form. Please use the Employee Scheduling example to experiment with this feature.
Example
As you may know, in the Employee Scheduling example there is a CRUD for each master set. So, as a way of visually help the user input data, the border annotation is used. The scalar widget has a few annotations available, this is the list of CSS properties.
Step 1
First create the css file with the border property. This must be created under WebUI\resources\stylesheets.
1.annotation-red-input  {
2    border: 3px solid red;
3    border-radius: 3px;
4}
5.annotation-green-input  {
6    border: 1px solid green;
7    border-radius: 3px;
8}
Step 2
Next step is to create a string parameter with the annotation logic. Such as:
StringParameter sp_annotationCRUD {
    Definition: {
        if sp_addEditElement then
            "green-input"
        else
            "red-input"
        endif;
    }
}
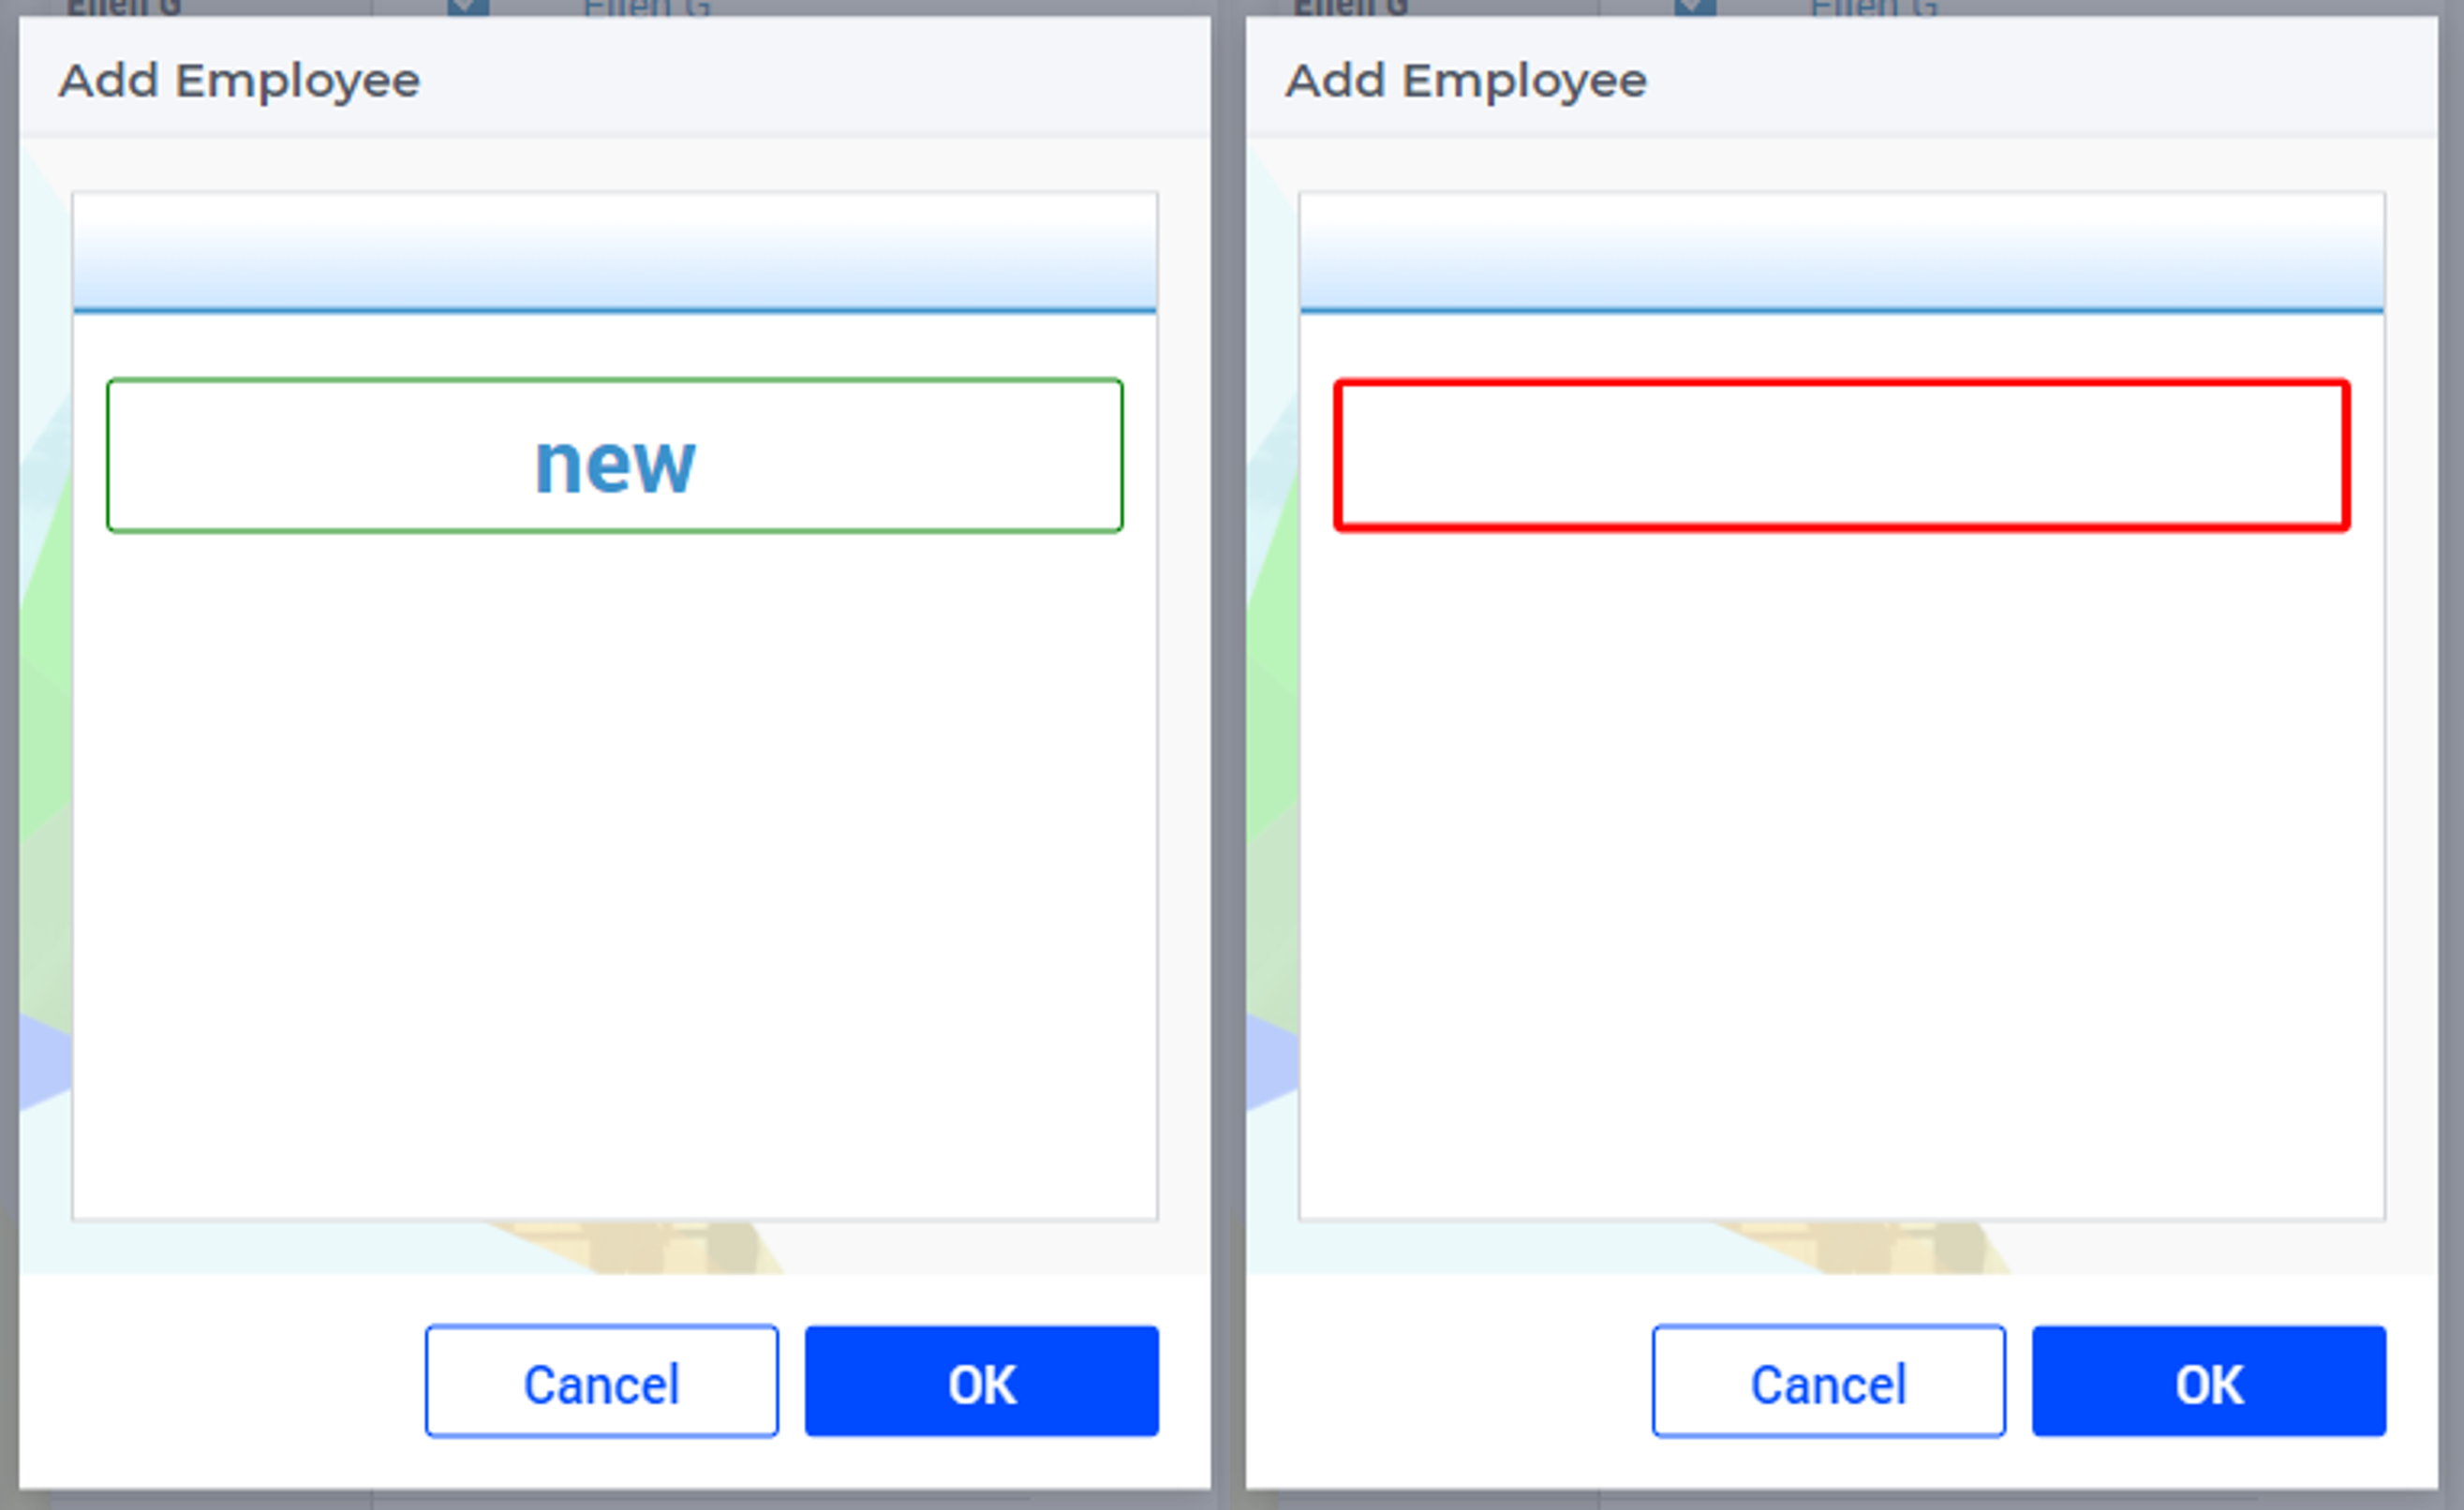
Here the logic will be, if has a value, then, green, otherwise, red, which you visually indicate the user when there is no data.
Step 3
Add sp_annotationCRUD to the identifier will be used on WebUI.

Results